Monday, November 4, 2013

Diaper Clutch Tutorial


This clutch is composed of 4 pieces which are prepared individually, layered, and then sewn together.

The bag folds in two and has two inside pockets. From this simple tutorial, many personal additions are possible: More pockets could be added; the closure could be a button with elastic cord, a bit of Velcro, or a magnetic clasp; a wrist strap could be attached; or a buckle or mitten clip might be useful.


 There is nothing new in this tutorial that you can’t find elsewhere on the internet. But, I wrote up these instructions after reading many, many tutorials and trying to synthesize what I thought were the advantages and disadvantages of
each method. My instructions follow a logical progression of making each of the four pieces separately, however, that requires changing my sewing machine feet multiple times. So, in reality (and only after making a number of these), I have changed my sequence and do all my cutting first and then do all my quilting.


WHAT YOU WILL NEED:  Although dimensions are given below, I prefer to prepare all pieces a bit larger and then trim to fit when doing the final assembly.

I only sew with Liberty Fabrics and think that they will give you the best results.

Outer fabric:    11” x 11”    (28 cm x 28 cm)    Use a patchwork piece or one single fabric.
Inner piece :     11” x 11”    (28 cm x 28 cm)   
Pocket one:      11” x 11”    (28 cm x 28 cm)
Pocket two:      11” x 10”    (28 cm x 25.5 cm)

Batting:        12” x 45” (30 cm x 120)    I prefer to cut a larger size piece, like this, and then cut into individual pieces as I go along.


MAKING THE FOUR PIECES:

(1) Prepare outer fabric:

Using a completed patchwork piece or one piece of fabric, place on top of batting and quilt as desired.


To make a tie, cut two pieces pieces of ribbon 8” (20 cm). Fold lengthwise, iron, and stitch together along the edges. Tape to the top and bottom, laying them out as shown in the second photograph below. The important things to remember, here, are that you want the long part of your ribbon toward the inside of the fabric and to extend just a bit on the outer edge.


(2) Prepare inner piece:

Cut a piece of fabric 11" x 11”  (28 cm x 28 cm). Make a finished edge on one side by turning in the fabric in twice at 1/4”  (scant 7 cm) and stitch down.  Quilt as desired.


(3) Pockets:

For each pocket, place a piece of batting so that it covers only half of the fabric.

Fold in two and quilt as desired.

Pin the two pockets together.


ASSEMBLY:

You are now going to put your pieces together. 


(1)    Place the Front piece down, right-side-up. If your front piece will have a decoration border or image, this should be on the bottom.


 Place the pockets on top of this, aligning the top edge of the sandwich.


(4)    Place the lining piece wrong-side-up, aligned along the top, but with the hemmed edge on towards the bottom and not quite reaching the the end towards you.


SEWING:

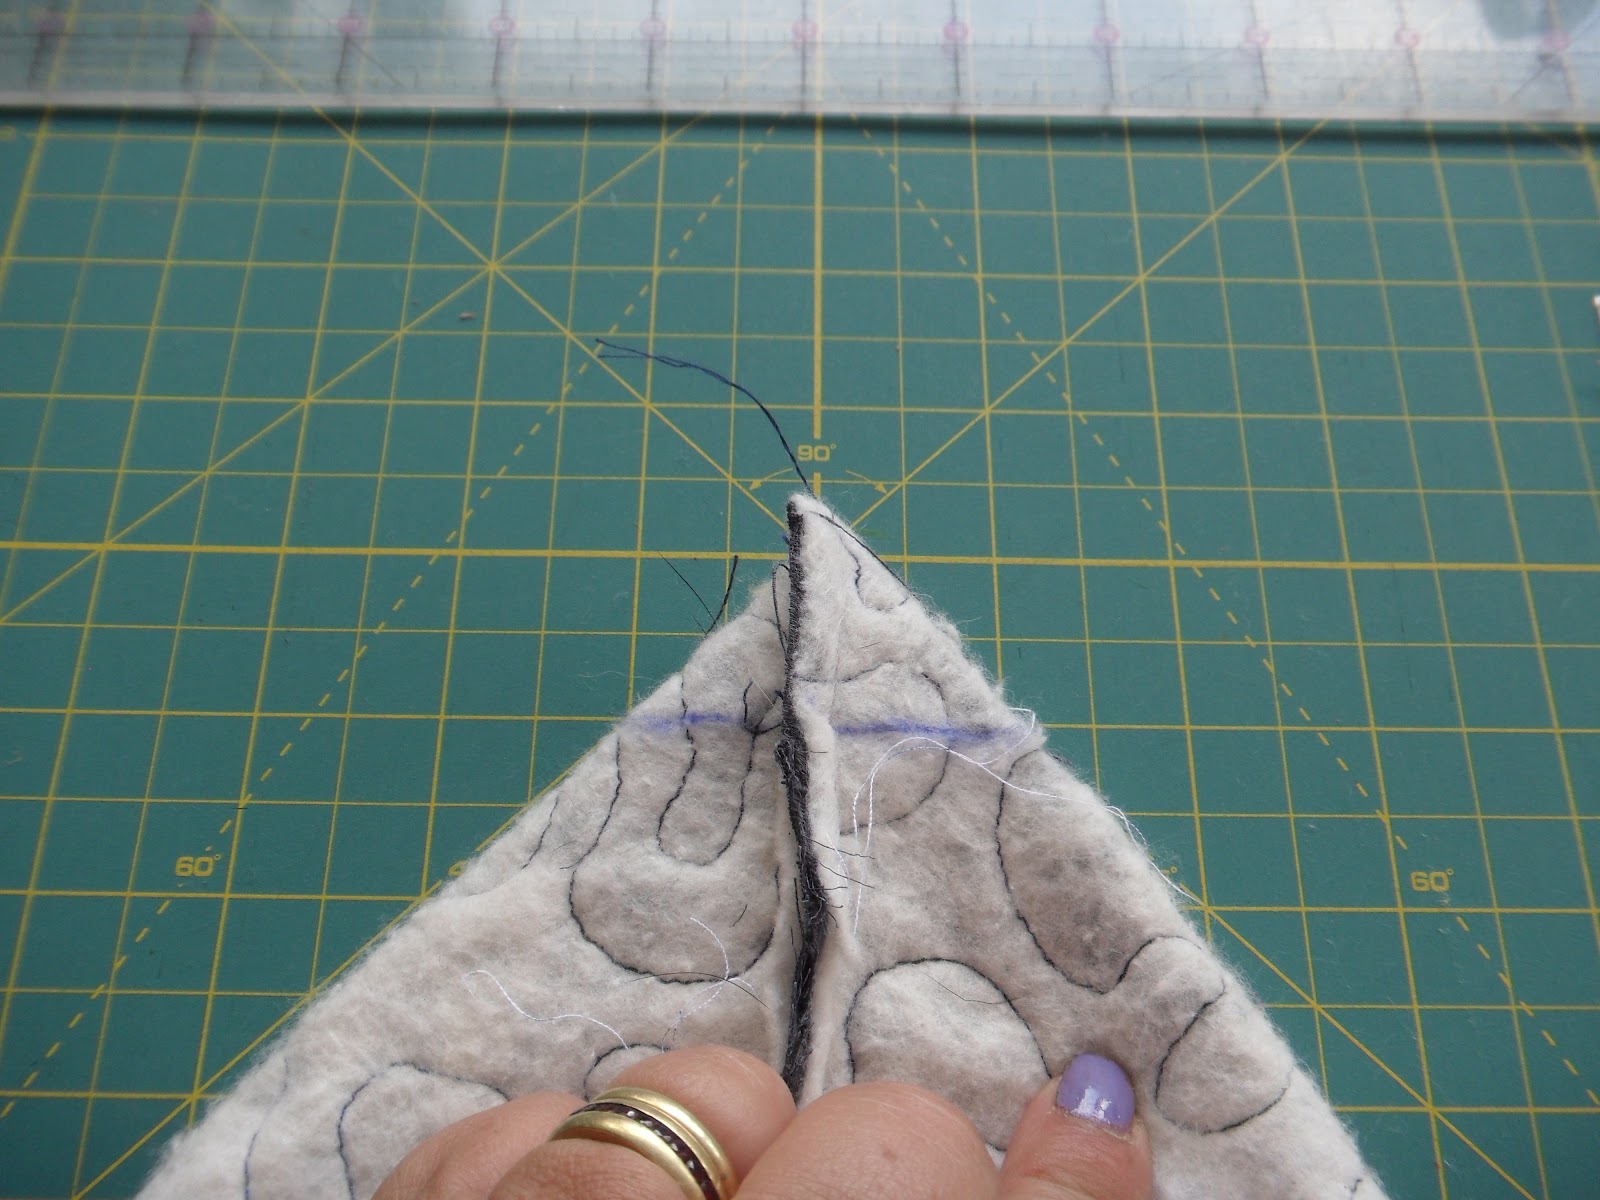
Sew completely around the sandwich using a walking foot (if you have one)  and then trim the excess fabric in the corners.


FINAL ASSEMBLY:

Turn right side out twice. The first time will bring the pockets to the top and the second time will place the lining fabric in position.


Iron and you are done.


(optional) Add a line of top-stitching along the perimeter to add stability.

(optional) Decide where you want your bag to fold in two and stitch a line along the fold (if desired).


Wednesday, October 31, 2012

Kumihimo: 8 Strand Flat Braid

Kumihimo: 8 Strand Flat Braid


  • tc to sc
  • bc to tc
  • to to bc
  • bo to to
  • sc to bo

Tuesday, September 11, 2012

Simple Tote Bag


I have been working on tote bags and want to record my construction method before I forget. In case you get confused, the photos below were done making two different bags. For my next bags, I need to learn to install zippers (in the pockets or for a closure).

First, here are photos of both sides of the completed bags:
My Sister's Bag
My Sister's Bag

My bag

My bag
 Now, what I did I can explain in a few steps.

(1) I started with two completed patchwork squares
(2) I added a trim color on sides and connected the two squares
(3) Made straps (optional)
(4) Added lining (with pockets)
(5) Added firm base (optional)
(6) Sewed together


Now, here is my detail, starting with step 2.

I have added the sides and a panel for the bottom


Trimming it all up even


I now have one large panel for making the bag:

One Panel for the bag


Now, come the straps. If I am making them, I start with 2.5 inch strips. They can be sewn down one side and then turned right-side out or be made by pressing both sides in and stiching up (multiple times, if desired). A few times my straps were not really firm enough. I need to consider what is the best type of fabric or if the fabric should be doubled.

iron the folds and then fold together


note foot placement

Adding more rows


The two straps are ready


Now to make the pockets. I have had best results by making a panel, sewing down the top and bottom raw sides, and then stitching onto a piece of fabric which will be the lining. The width is oversize and is later incorporated into the body of the bag. The lining fabric also is a little wider than the bag and the length is about the length of the finished bag. I do this for each side.

 
Completed pocket square


Lay the straps on each side of the top sides of the bag and pin in place.


Take care that the straps are not twisted as in this photo.

Place a lining square level with the top (the straps are in the middle) and sew in place.

 
The bag, lining, and straps are ready to be stitched along the top.
Turn right side out and iron each side carefully.

Both tops are now complete


Turn inside out and match up the sides carefully, so that the final top seams will line up.

 
Be careful to match exactly


For added accuracy, I stitch together in two steps. Each time from the center.


Now, you need to make the bottom of the bag square. From each corner, fold the fabric and mark a two inch sewing guide. 

Note that the line is drawn where the width is 2 inches

This provides a final bottom box of 2 inches.


The last step is to pull the lining out of the bag and sew the bottom closed.


Wednesday, May 2, 2012

Today's post consists of the notes that I wrote in figuring out how to print a Burda download pattern. Ugh.

I had a lot of trouble setting this up to print correctly. But, finally got it working on my computer system and thought it might help someone. I am using a MacBook with Chrome Browser and an HP printer. I didn't have very good luck when I tried to print the file with one command, so I printed each page separately and because I didn't want to change any of my printer defaults, I had to adjust the settings for each page.

 (1) Open download in Chrome (2) Chose "Print"  from the File Menu (3) Chose Open PDF in preview (4) Chose "Print Selected Page (5) Select the page you want to Print (6) Chose Draft, US Letter, and Fill Entire Paper.

It was a slow and cumbersome project this way, but it worked.

One more note: the test square says 4 inches or 10 centimeters. It was 10, not 4.

Sunday, April 22, 2012

Today's post isn't about sewing or quilting at all, but is to document the making of my first batch of soap in many years. The recipe is the most simple:

  • 1000 grams olive oil
  • 178   grams lye
  • 330   grams water
Here's what I did:

(1) I weighed out the lye. I kept it in a plastic bag so that there would be one less caustic thing to wash afterwards.


 (2) I measured my distilled water into a glass pyrex measuring cup.

 
(3) The oil was measured into the cooking pot.


(4) You see, below, my preparations for mixing the lye into the water (nb, it is always the lye into the water to avoid any splashing).


(5)  Here is the oil, heating up in the pan.

(6) Now, the oil is hot and the lye water has created its magic chemical reaction. As they both cool to about the same 100 degrees Fahrenheit, they are mixed together. Getting them to within 10 degrees of the same temperature can be trickier than it sounds, so letting the containers sit in either a cold or hot water bath might help.


(7) Using my magic wand, I beat the mixture until it is solid enough that a trace of soap is left on the top when I swirl.


(8) Molds are filled.


(9)  Molds tops are covered with Saran wrap and wrapped in a towel for 24 hours.


Thursday, April 19, 2012

Today's project was to make a small zipper bag with fabric tabs on the sides of the zipper so that the upper corners are square and neat.

I started with a zipper with an opening of 7 inches.

I cut 2 squares of fabric, each one 2" x 3".

These were sewn to the front side of the zipper about half an inch inside the metal zipper stops.


Finger press the tabs facing out.

I cut a 2 pieces of fabric for the sides of the bag. With the zipper open, I sewed along the top. Since my fabric was a napkin with a seamed top edge, I simply lined up the top of the fabric along the center of the zipper and sewed.  Then sewed on the other side.


The bag was folded inside out and stitched along all three open sides, making sure that the seam was within the metal zipper stops.

When done, I just opened it up.